Sticky Sesame Chicken Wings Recipe
- shannonkstrange
- Jun 6, 2024
- 4 min read
Earlier this week, I set out to make a roast chicken dish. Following a series of events — some unfortunate, mostly benign — I concocted this sticky sesame chicken wings recipe instead. Some mistakes are worth repeating in the kitchen, and this is certainly one of them.
We're suffering a self-inflicted chicken surplus in our house. For the past year or so, this roast chicken thigh recipe has been on a weekly rotation. So, once a week, we buy a mixed tray of free-range chicken thighs and shove the leftovers in the freezer, where they are promptly forgotten. We have repeated this process for weeks. It doesn't take extraordinary powers of imagination to visualise how much chicken is currently in the freezer.
Anyway, during our cursed weekly shop for fresh chicken pieces, we were dismayed to find that the store only stocked chicken wings. There wasn't enough time to defrost any of the myriad chicken thighs in the freezer, so I reviewed the pantry contents and made something else up entirely.
The result? Criminally crispy oven-baked chicken wings drenched in a sticky, sweet and salty sesame sauce. Get into it.
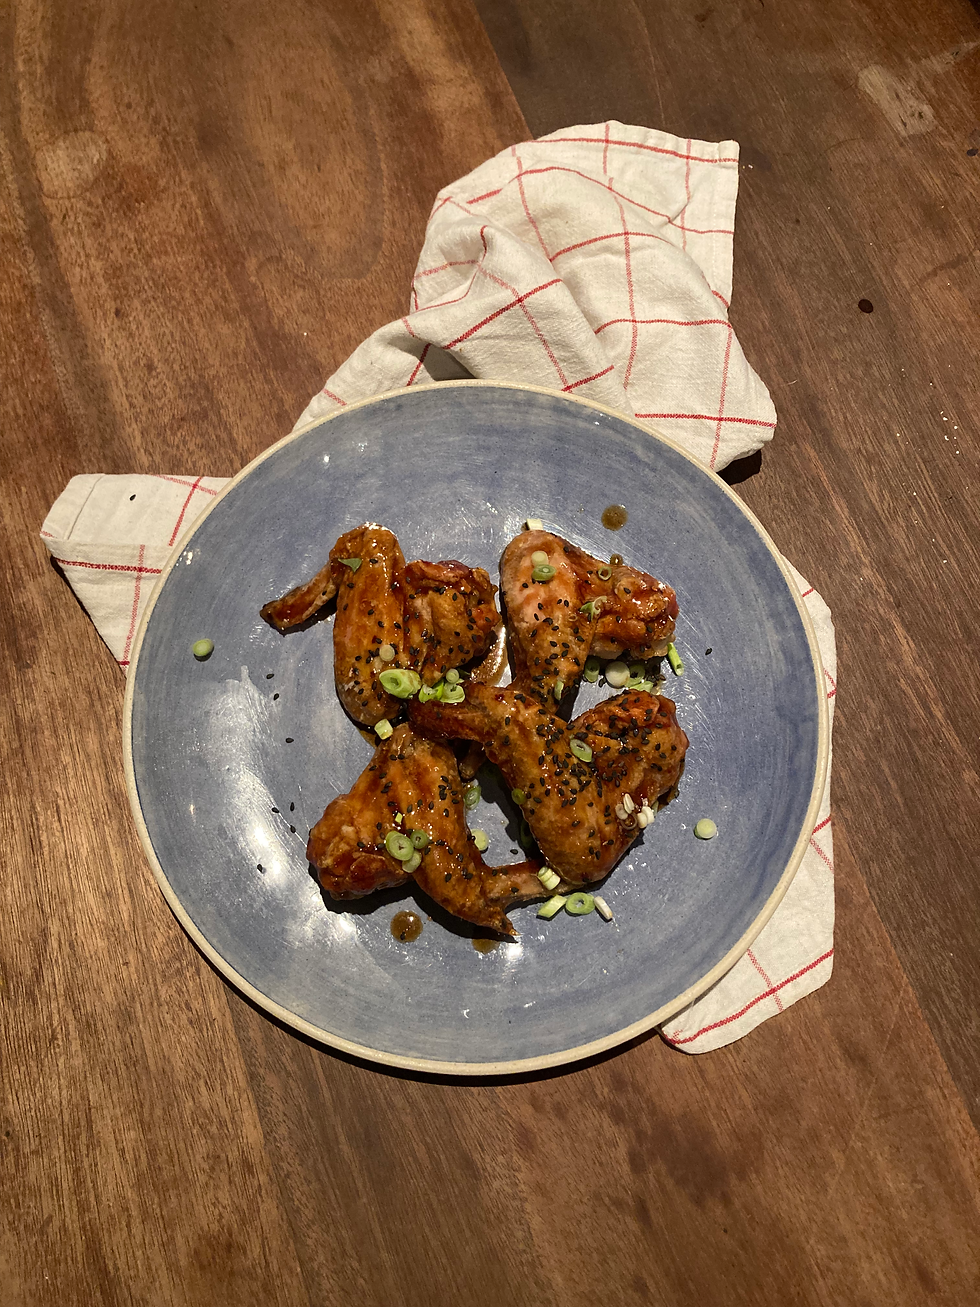
These were such a profound hit in our house that we're having them for a third time this weekend. If you like your chicken crispy and falling off the bone, this is the dish for you.
What you'll need from the shops to make this chicken wings recipe
Free-range chicken wings
Corn flour
Spring onion
Oyster sauce
Soy sauce
Sesame oil
Sesame seeds
Chilli crisp (optional)
Golden syrup
How to make the crispiest over-baked chicken wings you've ever seen in your whole life
The secret to the crispiness of the chicken wings lies in drying them out. For these purposes, your quest would benefit from the following items:
A cooking rack (I do not have one — I did okay with a silicone baking mat to collect and draw off the rendered chicken mat, but a rack really is key here)
Kitchen roll
Step Two: Dry the chicken
Preheat the oven to 120 degrees Celsius. Once that's done, pat down the chicken wings with kitchen roll before nestling them into a receptacle. Then, toss a handful of cornflour and a pinch of salt over the wings.
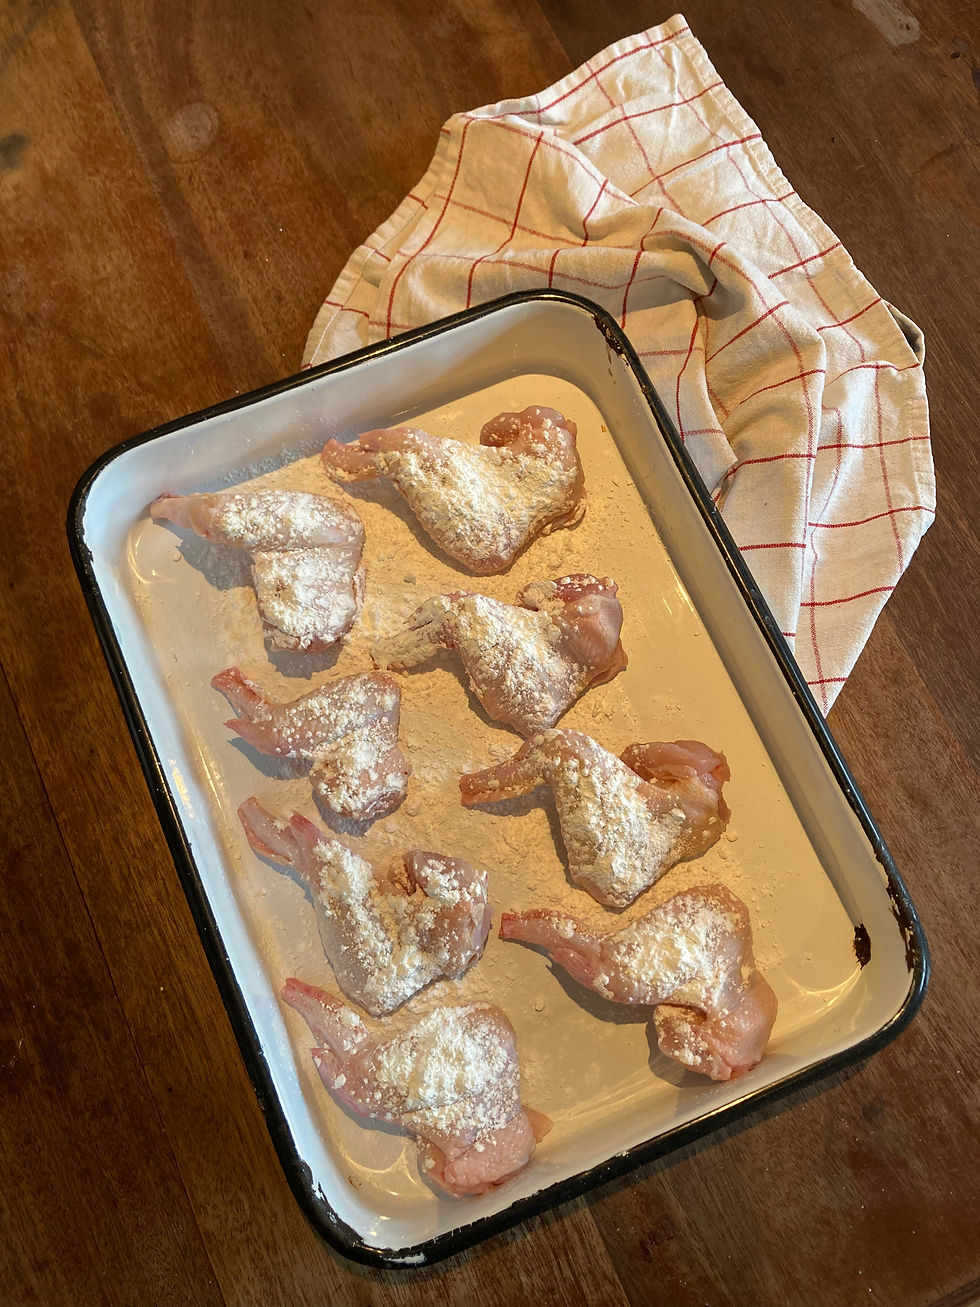
Then, using a pair of tongs or your hands, toss them around until the wings are thoroughly coated in the seasoned cornflour.
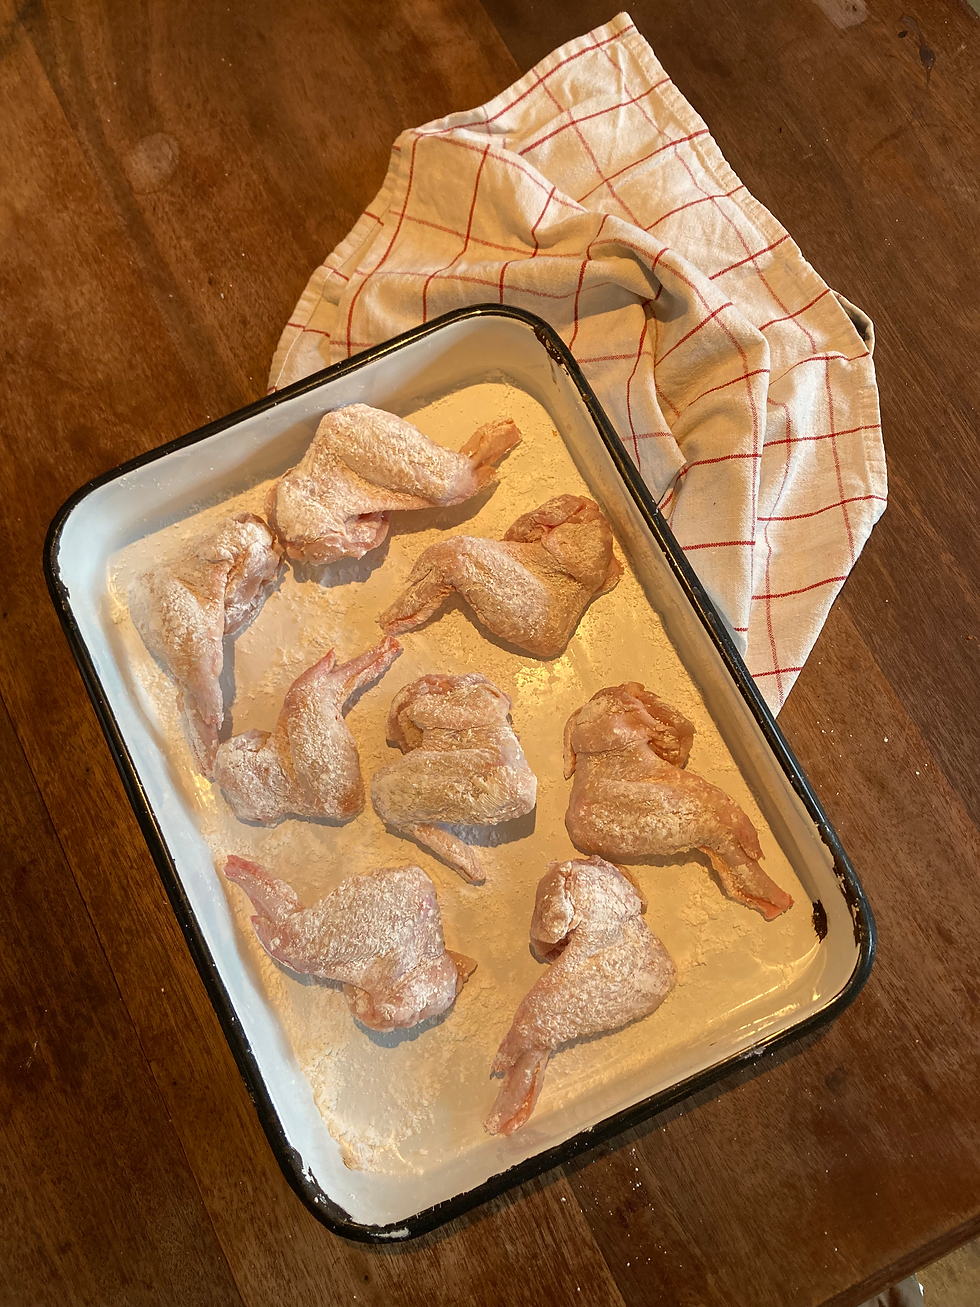
Transfer the wings onto your cooking rack. If you are bereft of a rack, just remember to drain the chicken fat later on in the cooking process. Bung the lot into the hot oven and set a timer for twenty minutes.
The wings will cook on low heat for twenty minutes to render the chicken fat out and create a delightfully crispy skin; they will finish on 200 degrees Celsius to ensure they are fully cooked.
Step Two: Prep your other kak
While that's on its first round in the oven, take a minute to chop up some spring onion and whip up the all-important sauce.

I made this sauce up with my mind, which is to say that it is non-traditional and inspired by what I had in the pantry at the time. All home chefs should be encouraged to put some stuff in a bowl and see how it goes. A loose rule: a mixture of something salty, something sweet, and something acidic or spicy should do you right.
This is what I used to make my sauce (enough to cover ten wings and spare):
5 tbsp oyster sauce
3 tbsp golden syrup
2 tbsp soy sauce
1 tsp sesame oil
0.5 tsp chilli crisp
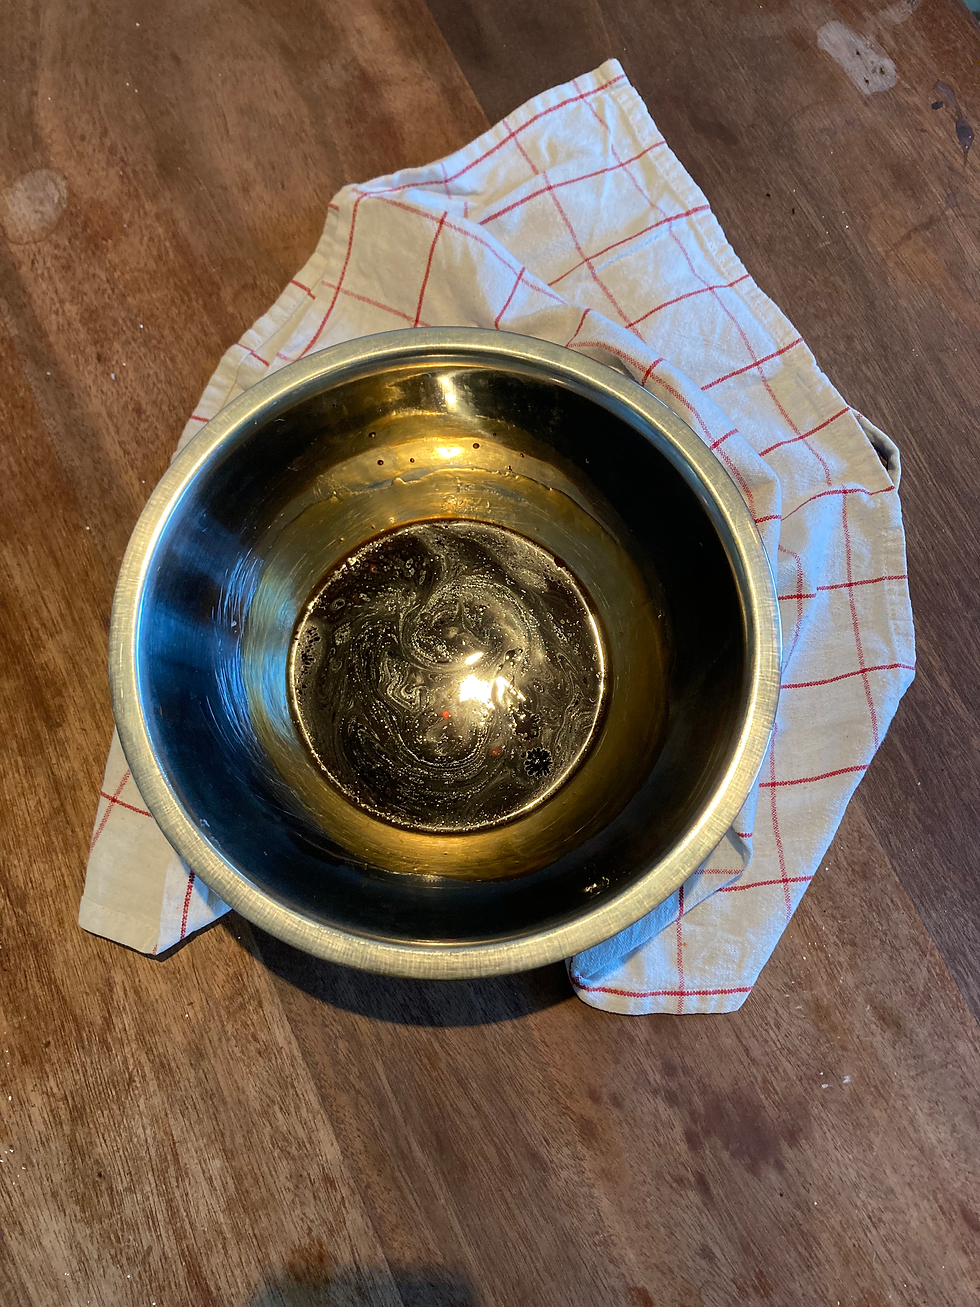
Simply mix that in a large mixing bowl (it will need to accommodate chicken pieces later) and see how you go. Balancing a sauce is a lot like mixing colours; it can get funky but, for the most part, it's deceptively simple. If your sauce is too salty, add something sweet. If it's too sweet, add something acidic (remember that chilli is acidic). If it's too acidic, add something sweet.
The only way you're going to know if your sauce is any good is to taste it yourself, so don't neglect to do that while you're gleefully mixing potions in the kitchen.
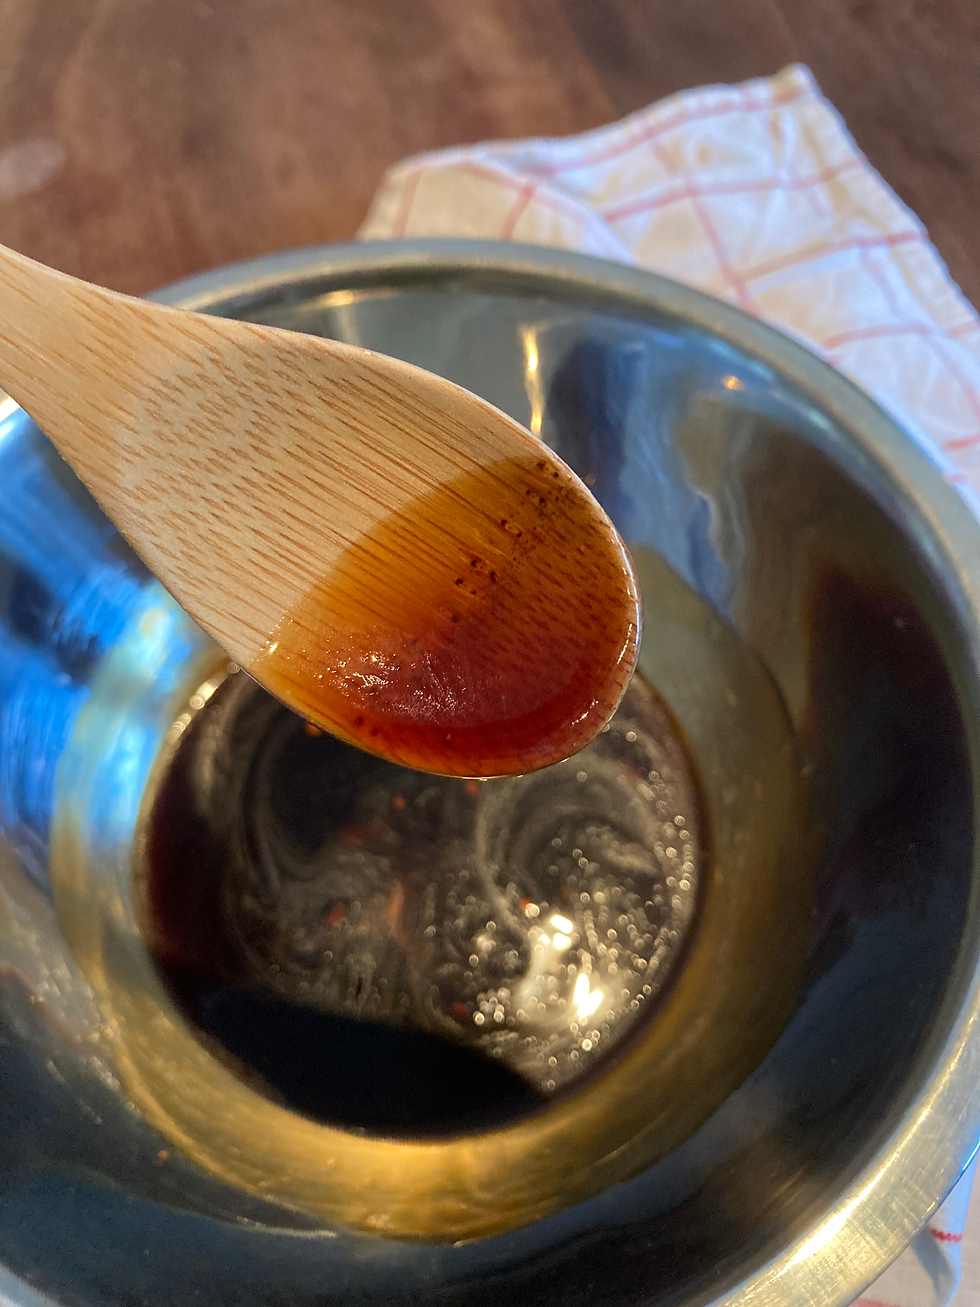
Aim for a consistency that is less viscous than syrup but still sticking to the spoon. If you run your finger over the backside of a wooden spoon, the parted halves should take a second to reconcile again.
Step Three: Check on the chicken
Twenty minutes have transpired and your chicken should be semi-cooked. If you aren't using a rack, this is the time to drain the roasting tray of chicken fat. Do not turn over the wings. Crank the oven up to 220 degrees Celsius and pop the wings back in there for another 45 minutes. Now is a good time to chuck in some potato wedges or similar to serve with the wings.
Step Four: Check on the chicken again
It's 45 minutes later. The chicken should be fully cooked and beautifully browned at the tips and joints.

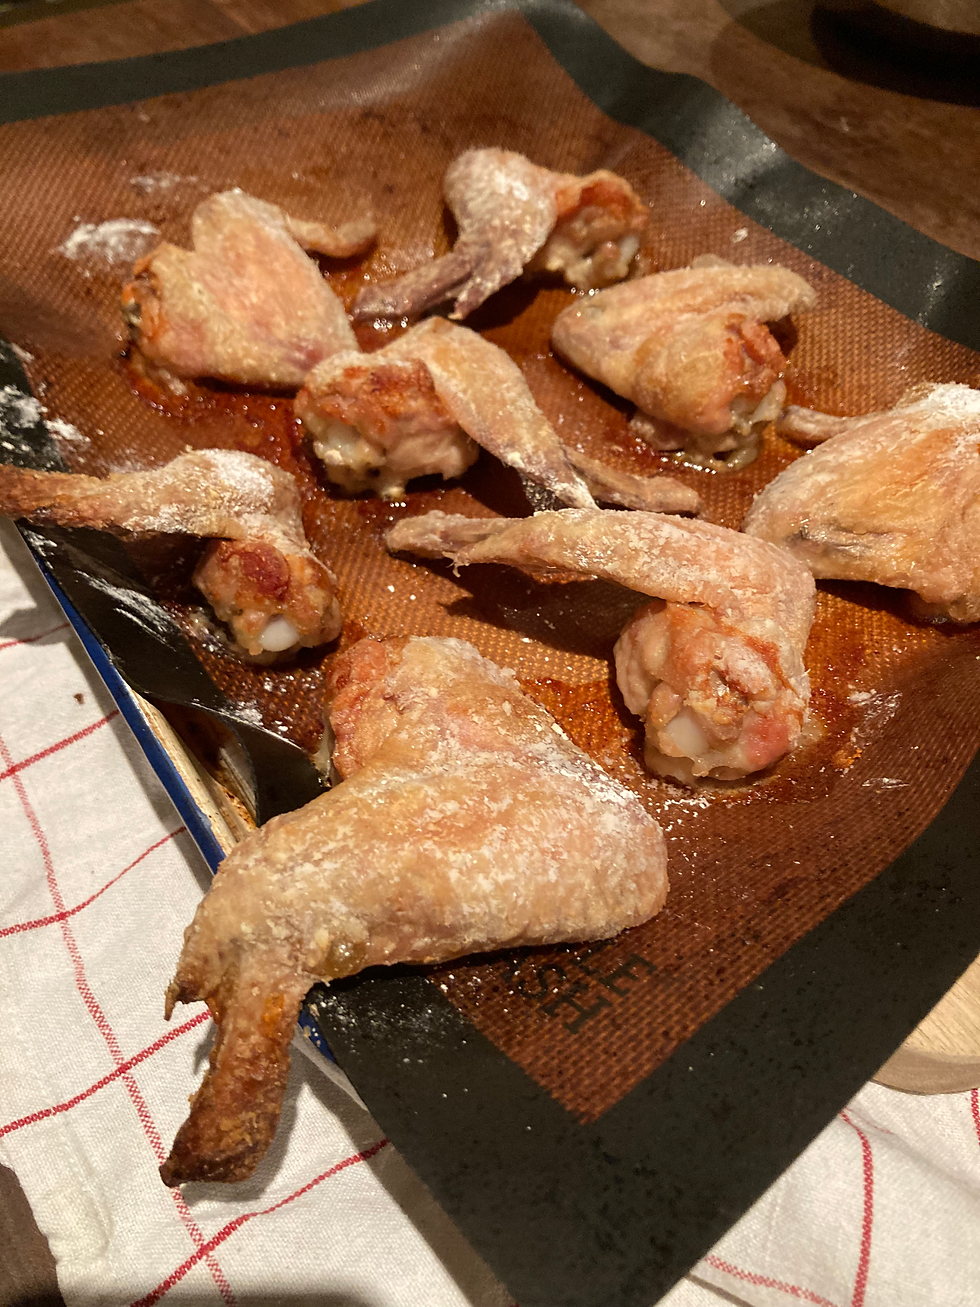
Step Five: Toss in the sauce
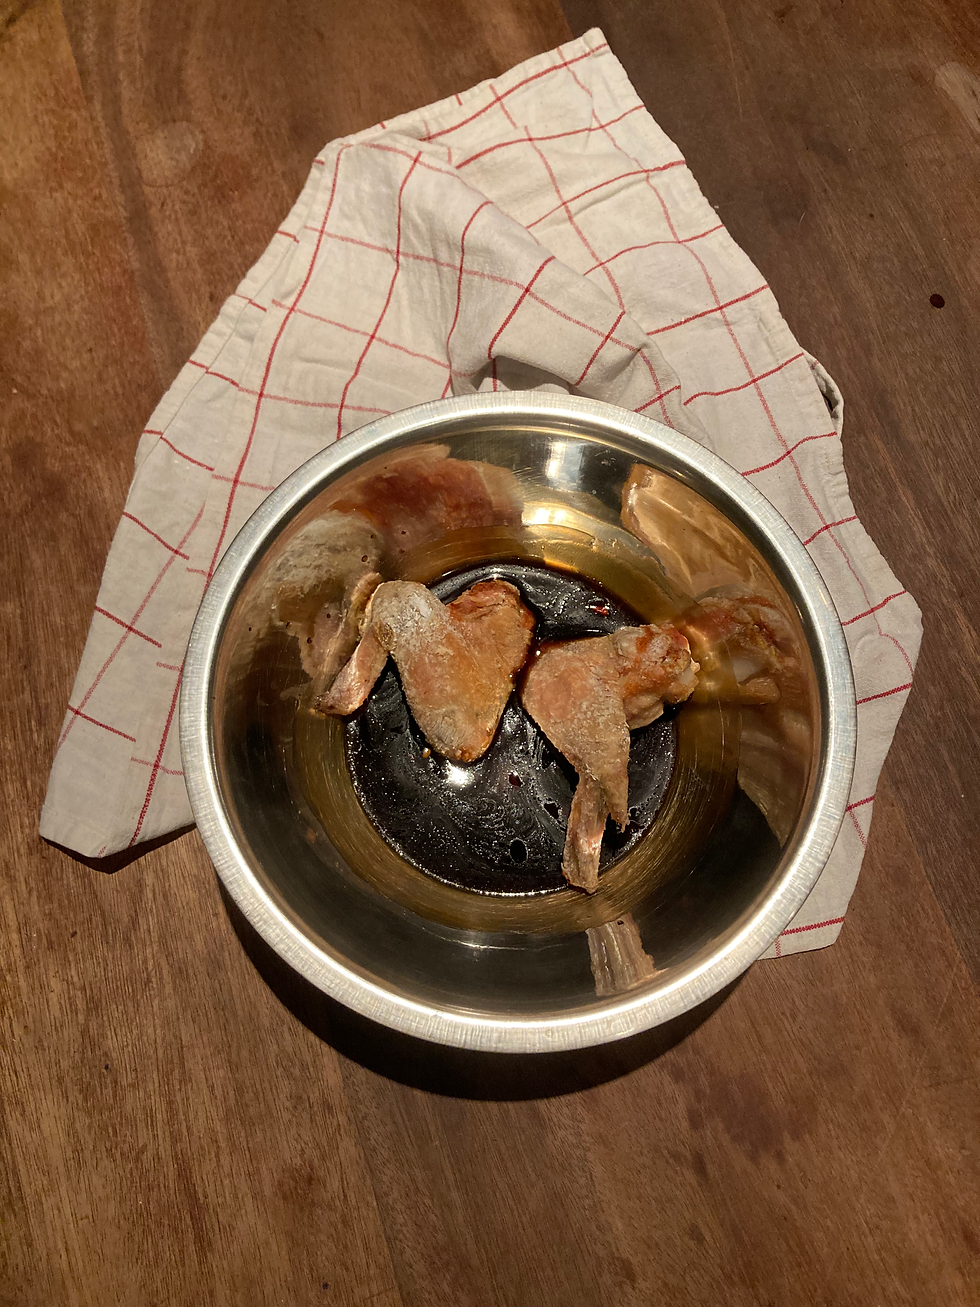
Using tongs, transfer the hot chicken wings into your bowl of sauce and drench until they are evenly covered.
Step Five: Garnish and serve
Plate your crispy, sweet, and sticky chicken wings. Top the saucy wings with a generous pinch of sesame seeds and chopped spring onion. Serve immediately to delighted table guests.

Keep that kitchen roll handy. You're going to need it for sticky fingers.
Lots of love,
The Life & Style team

Comments